
Unlock the Secret to Stunning Prints: Discover the Best Silk PLA Filament for Your Ender 3!
If you're venturing into the vibrant world of 3D printing, you've likely encountered silk PLA filament. This specialty material stands out not only for its unique aesthetic but also for its versatility, making it a favorite among 3D printing enthusiasts, especially those using the Ender 3 printer. Silk PLA is known for its glossy finish, which can elevate your prints to a whole new level, providing a stunning sheen that resembles real silk. As such, it’s an ideal choice for intricate models, decorative pieces, or any print where aesthetics are paramount. In this article, we’ll explore the characteristics of silk PLA, optimal printing settings, common issues, and tips to achieve the best results with your Ender 3.
Understanding Silk PLA Filament
Silk PLA filament is a unique blend of polylactic acid (PLA) that has been modified to produce a shiny, silk-like finish. Unlike standard PLA, which has a matte appearance, silk PLA contains additives that enhance its glossiness and give it a vibrant color depth. This filament is lightweight, biodegradable, and relatively easy to print, making it perfect for both beginners and seasoned users. One of the standout advantages of silk PLA is its ability to produce eye-catching prints with smooth surfaces and fine details. Users of the Ender 3 will appreciate how this filament can elevate the quality of their prints, especially for projects that require a polished look, such as figurines or display pieces. It's also worth noting that silk PLA has a lower tendency to warp compared to other materials, making it easier to work with and yielding impressive results.
Optimal Settings for Ender 3
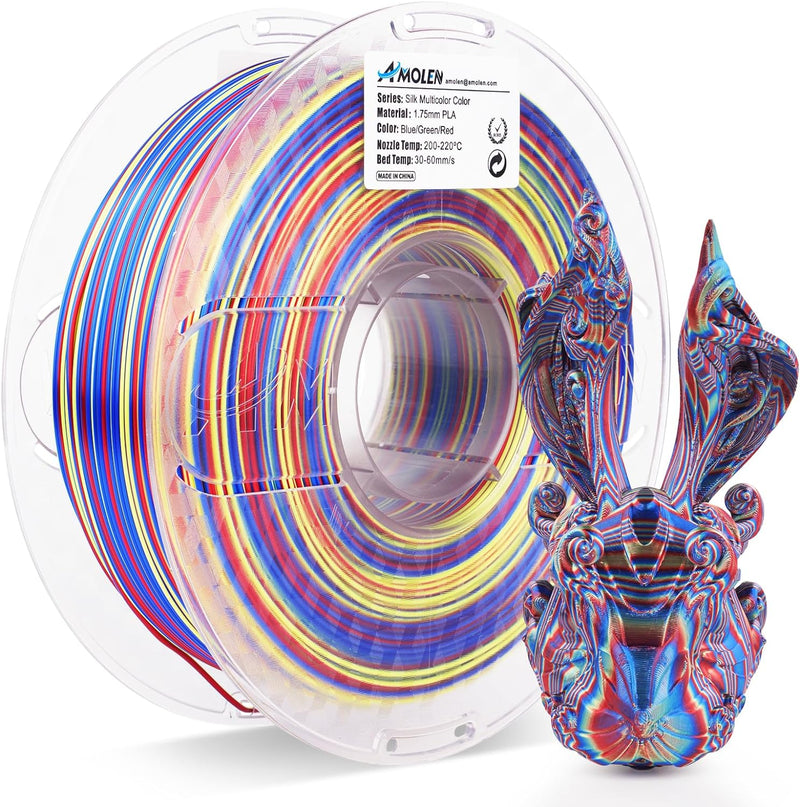
Getting the most out of silk PLA on your Ender 3 hinges on using the right settings. Since this filament behaves differently than standard PLA, adjustments are necessary to achieve optimal print quality. Generally, silk PLA requires a nozzle temperature of around 200°C to 220°C and a heated bed temperature of 50°C to 60°C. This temperature range helps ensure that the filament flows smoothly while promoting good adhesion to the print bed. Additionally, adjusting the print speed is crucial; a slower print speed of about 40-60 mm/s can lead to finer details and a better finish. Retraction settings also play a significant role in reducing stringing, a common issue with silk PLA. A retraction distance of 1-2 mm and a retraction speed of 20-30 mm/s is recommended to minimize oozing and improve overall print quality.
Temperature Settings
Finding the ideal temperature settings is key to successful printing with silk PLA. For the nozzle, starting at around 200°C is a good baseline, but you might need to experiment within the range of 200°C to 220°C based on your specific printer and the silk PLA brand. The heated bed should be set between 50°C and 60°C. Maintaining the right temperatures helps prevent issues like under-extrusion and ensures the filament adheres to the build plate properly. It’s advisable to monitor your prints closely during the first few layers, as this is when adhesion problems are most likely to occur. Adjusting your settings slightly based on the performance can lead to much better outcomes.
Print Speed and Retraction
Print speed significantly influences the quality of your silk PLA prints. While higher speeds may seem tempting, they can lead to surface imperfections and reduced detail. Slowing down to about 40-60 mm/s allows the filament to settle and bond correctly, enhancing the glossy finish that silk PLA is known for. Regarding retraction, it's essential to set your retraction distance and speed correctly to combat stringing effectively. A retraction distance of around 1-2 mm and a speed of 20-30 mm/s are often sufficient to reduce oozing. Remember, fine-tuning these settings may take some experimentation, but the end results will be worth it.
Common Issues and Troubleshooting
Despite its advantages, printing with silk PLA on the Ender 3 can present challenges. Common issues include adhesion problems, layer separation, and surface finish inconsistencies. Adhesion problems may arise if the heated bed is not set correctly, so ensure you maintain the recommended bed temperature. Layer separation can occur if the nozzle temperature is too low; increasing the temperature slightly can help. Surface finish issues often manifest as a dull appearance instead of the desired glossy effect. This can be mitigated by fine-tuning your print speed and ensuring proper cooling. If problems persist, consider checking your extruder settings or the condition of your nozzle, as these can impact the flow of filament.
Tips for Achieving the Best Results
To maximize your success with silk PLA, consider employing some tips and tricks. First, post-processing your prints can significantly enhance their appearance. Techniques such as sanding and applying a clear coat can amplify the glossy finish even further. Experimenting with different layer heights can also yield varied results; smaller layer heights produce finer details. Additionally, consider using a brim or raft to improve bed adhesion for larger prints. Finally, don’t shy away from adjusting your settings based on the specific characteristics of the filament brand you’re using. Every filament has its quirks, and finding the sweet spot for your particular setup can lead to breathtaking results.
Final Thoughts on Silk PLA Filament for Your Ender 3
In conclusion, silk PLA filament can transform your Ender 3 prints into stunning works of art with the right settings and approach. By understanding the characteristics of silk PLA, fine-tuning your printer settings, troubleshooting common issues, and applying expert tips, you can achieve remarkable results. Don’t hesitate to experiment with different settings; the world of 3D printing is all about creativity and exploration. With silk PLA, you have the potential to create eye-catching prints that truly stand out.