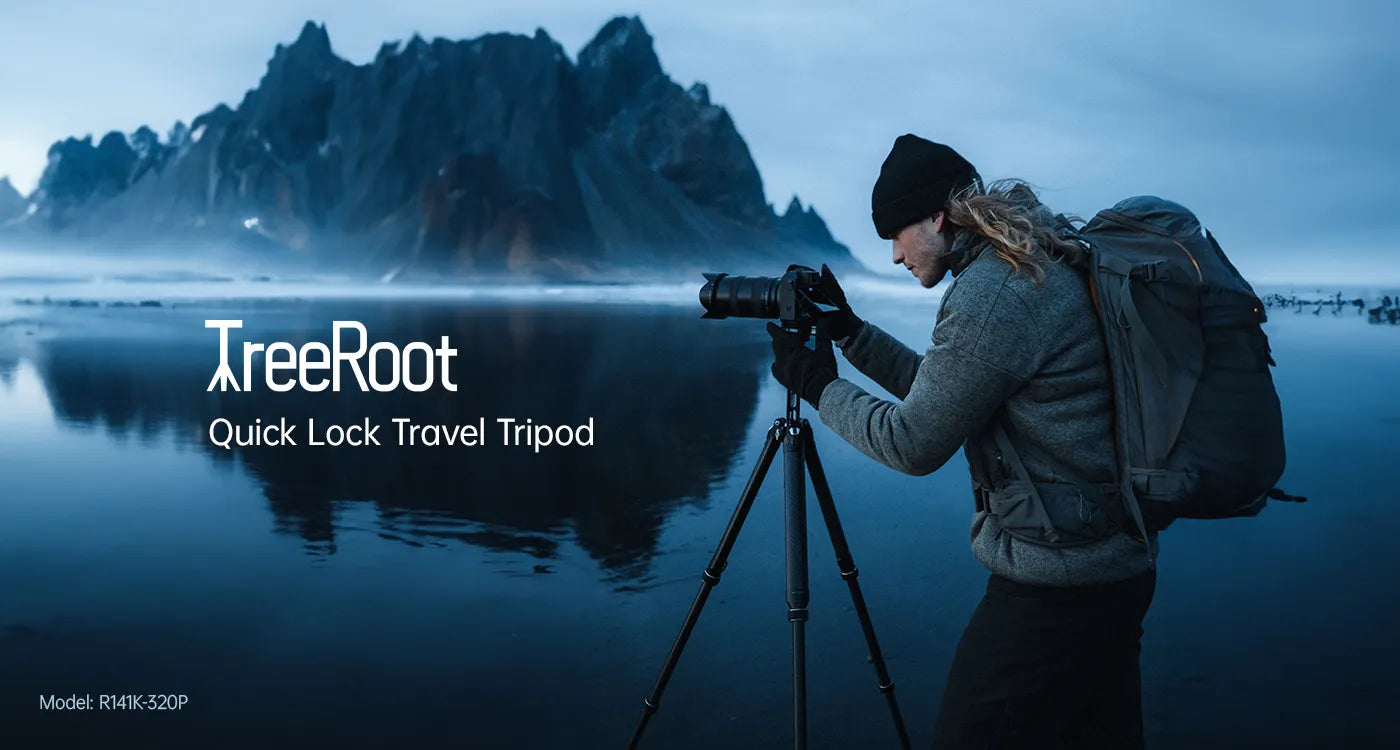
Unlock Stunning Self-Portraits: Mastering Your Tripod and Remote Control Like a Pro!
Self-portraits are a fantastic way to express your personality and creativity. They allow you to capture moments that reflect who you are and how you feel. However, achieving a professional look can sometimes be a challenge without the right tools. This is where a tripod with a remote control comes into play. This combination not only enhances the stability and quality of your images but also allows you to experiment with different poses and settings without the need for a photographer. Imagine having the freedom to create stunning self-portraits from the comfort of your own space or while exploring beautiful landscapes! In this article, we'll delve into how to effectively use a tripod with a remote control to elevate your self-portrait game.

Understanding the Basics of Tripods and Remote Controls
A tripod is a three-legged stand that supports your camera, ensuring stability and preventing shakes that can ruin a shot. Most tripods come with adjustable height settings and flexible legs, allowing you to position your camera at the perfect angle for your self-portraits. The remote control, on the other hand, is a device that lets you take photos without having to physically press the camera's shutter button, which is especially useful when you're the subject of the photo. With these tools, you can set up the perfect shot, focus your camera, and then capture the moment at the click of a button, giving you greater freedom and flexibility in your photography endeavors. Understanding how to use both effectively is key to taking stunning self-portraits.
Setting Up Your Tripod for Self-Portraits
To begin, set up your tripod on a flat, stable surface. Adjust the legs to ensure the tripod is level, as an unsteady base can lead to blurry images. Once the legs are set, adjust the height of the tripod so that the camera is at eye level when you’re in your desired pose – this is crucial for capturing flattering angles. Position the tripod at a distance that allows your entire body to be in the frame or focus on specific features like your face or upper body, depending on the composition you want to achieve. Lastly, make sure to check that the camera is securely tightened to avoid any accidents during your shoot. Taking the time to set up your tripod properly can make all the difference in the quality of your self-portraits.
Finding the Right Angle
Experimenting with different angles can significantly enhance the quality of your self-portraits. Try positioning the camera slightly above your eye level for a more flattering perspective, or shoot from a lower angle to create a sense of drama. Don’t hesitate to move around and test various poses and angles; sometimes the best shots come from unexpected positions. You might even consider using a mirror to reflect your poses as you adjust your setup. One of my friends once discovered that tilting the camera slightly to the side created a dynamic effect that transformed her photos from ordinary to extraordinary. The key is to be playful and find what works best for you!
Using the Remote Control Effectively
Once your tripod is set up and your camera is positioned, it’s time to focus on how to effectively use the remote control. Start by ensuring that your camera is set to autofocus. This will make it easier to capture sharp images without having to run back and forth to adjust focus. When you're ready to shoot, use the remote control to take your pictures. Timing is essential; practice pressing the shutter button just before you pose to ensure you’re in the right position when the shot is taken. Additionally, take advantage of the timer function if your remote has one, allowing you a few seconds to get into position. Coordination between you and the camera is crucial, so don’t hesitate to take multiple shots to get the perfect one!
Advanced Techniques for Perfecting Your Shots
Once you're comfortable with the basics, consider exploring advanced techniques to further enhance your self-portraits. For instance, using burst mode can help you capture a series of shots in quick succession, increasing your chances of getting the perfect expression or pose. Adjusting your camera settings according to different lighting conditions is also vital; for instance, in low light, you may want to increase the ISO or use a slower shutter speed. Additionally, think about incorporating creative elements such as props or different backdrops to make your self-portraits more visually interesting. I once used a colorful scarf as a prop, which added texture and depth to my photos, resulting in a more engaging composition.
Elevating Your Self-Portraits with the Right Tools
In conclusion, mastering the use of a tripod with a remote control can dramatically improve the quality of your self-portraits. From understanding how to set up your equipment to experimenting with angles and advanced techniques, these tools empower you to capture stunning images that showcase your unique personality. Don’t forget to enjoy the process – photography is as much about the experience as it is about the final product. So grab your tripod and remote, get creative, and start capturing those beautiful self-portraits that you’ll cherish for years to come!


